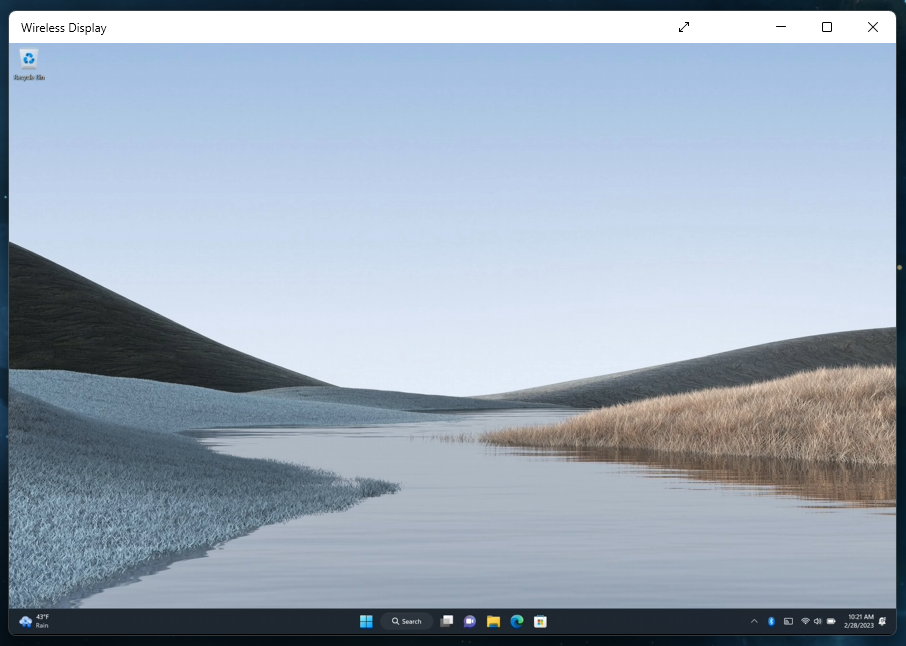
Miracast between two Windows PCs
When troubleshooting Miracast connection or performance issues between a Windows 10/11 pc and a Surface Hub, it can be helpful to understand if the issue reproduces outside the Surface Hub. To do this, we can test Miracasting between two Windows 10/11 PCs.
To begin, we need to ensure the Wireless Display service is enabled on one or both of the laptops. The steps to do this are slightly different between Windows 10 and Windows 11. Follow the screenshots below based on the OS version you are running.
Windows 10 – Install Wireless Display service
Press the Start button and type “Manage optional features”, then select “Manage optional features” in the system settings.

Press “Add a feature”

Scroll down to and enable “Wireless Display” and then click Install.

Wait for the Wireless Display feature to install, when complete it will show “Installed”.

Windows 11 – Install Wireless Display service
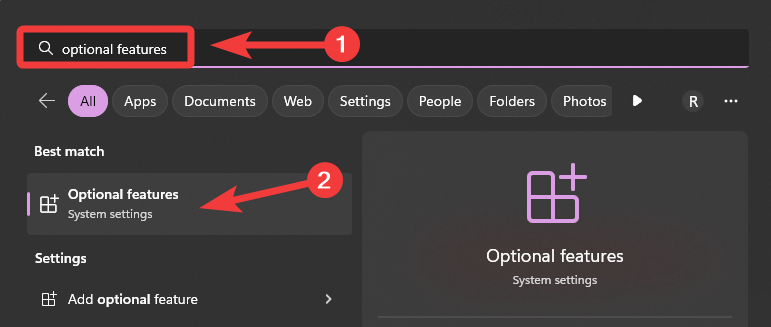
Press the Start button and type “Optional features”, then select “Optional features” in the system settings.
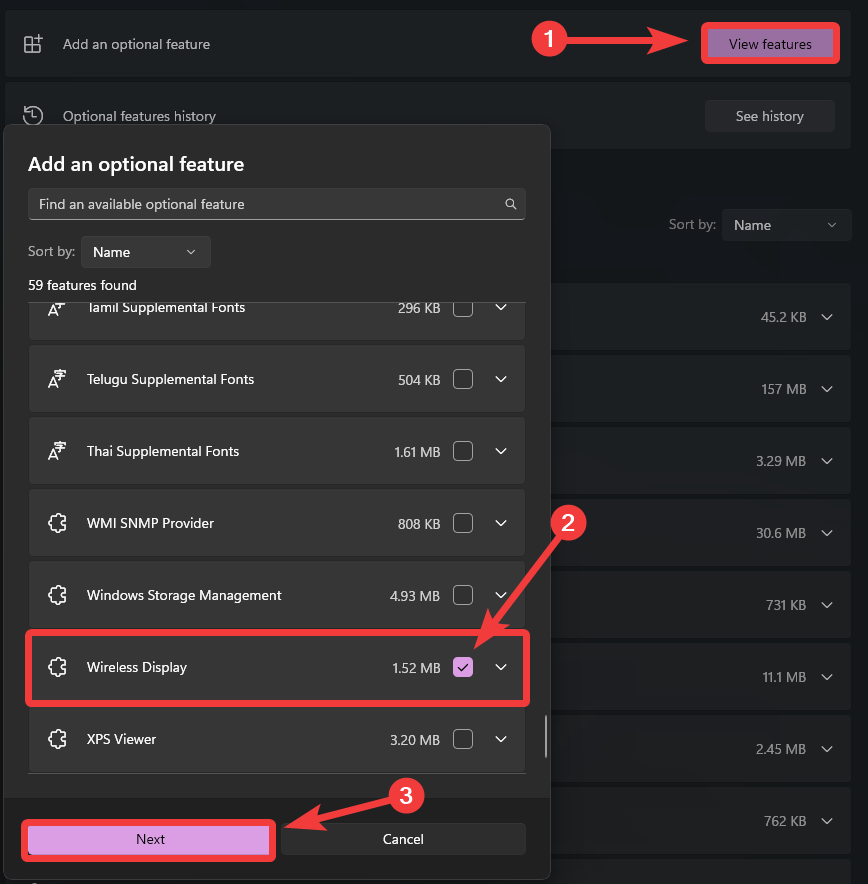
Select “View features”, scroll down to and select “Wireless Display” and then next to install it.
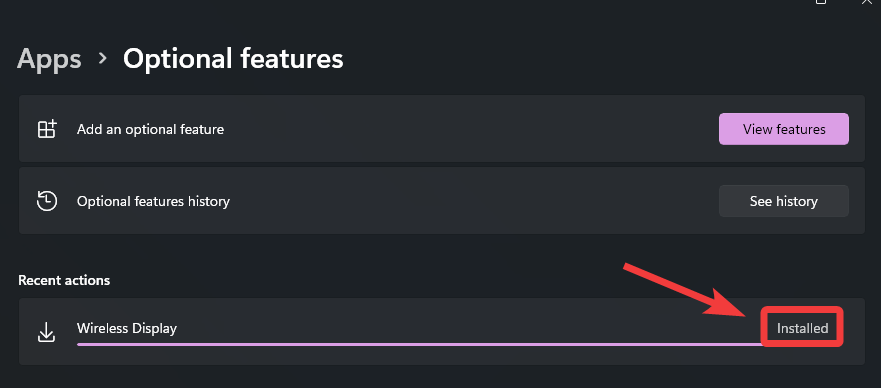
Wait for the Wireless Display feature to install, when complete it will show “Installed”.
Testing Miracast between two Windows PCs
Connect Laptop #1 to the same wired or wireless network connection the Surface Hub uses. Then open the Connect/Wireless Display application.
Windows 10
Press the start button and search for “Connect”. Select the Connect app to open it.

Windows 11
Press the start button and search for “Wireless Display”. Select the Wireless Display app to open it.
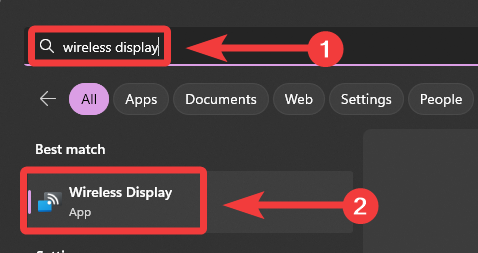
You should see a blue window appear with the text “ready for you to connect wirelessly”.

Using Laptop #2 press Windows + K, select the PC you want to Miracast to, and then press Connect.

Once the connection is established, the display from Laptop #2 should be Miracasting to Laptop #1.
